Technical Training
Mailing Address
Cleveland State University
2121 Euclid Ave.
Rhodes Tower 1104N
Cleveland, Oh 44115
Training Computer Lab
Rhodes Tower
4th Floor Rm 414
Enter through Michael Schwartz Library
Placing images on a page
Step by step procedure
After typing or pasting the text for the page and formatting any headers, do one of the following:
- Click to the left of the first word - OR -
Click after the last word of a paragraph and press Enter/Return - Click on the Add media tool

- The Media Browser will open, offering a choice of locations from which to select the image. Choose My Files

- The most recent image uploaded will normally be the first image listed in the next window of the Media Browser. You can load a picture directly into the system from this point. The only difference is the Alt Text will only appear in this instance of picture. If the Alt Text is added in the Mange Files area it will be included in all instances of the image.
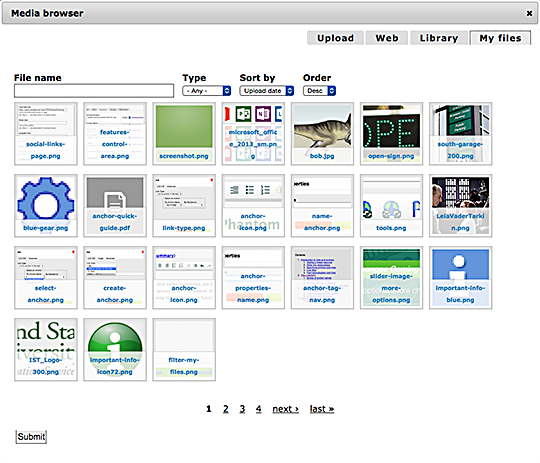
- Click on the image and click Submit
- You'll have a chance to add/change the Alt Text but nothing else need be done in the next window. Click Submit
- Larger images will be shrunk to fit in the window. If you positioned the cursor before a line of text, the image will be place in-line with the text - without text wrap.
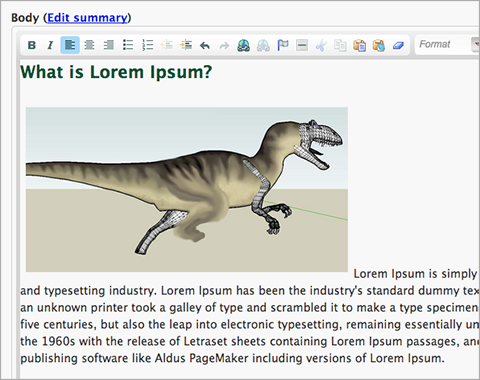
You are now ready to edit the image size, add a border, set the alignment of the image, and add space around the image if desired.
Mailing Address
Cleveland State University
2121 Euclid Ave.
Rhodes Tower 1104N
Cleveland, Oh 44115
Training Computer Lab
Rhodes Tower
4th Floor Rm 414
Enter through Michael Schwartz Library