

Media files may be added to pages so that they can be displayed and printed. Though images can also be added to pages using the Add media button described elsewhere in these tutorials, downloadable files like Acrobat .pdf files and MS Office files cannot. It is possible, however, to provide a link to a document so that the user may download the file. This tutorial will show you the steps to create a direct link to a file stored on the CSU system.
Important Note:
![]() Due to differences in operating systems and the way users can configure their personal computers, it is best to have a user download Microsoft Office files instead of opening them directly from a web page. Do not try to create a link from a MS Office file you have opened directly from the Manage Files area. Be careful to follow the instructions listed below.
Due to differences in operating systems and the way users can configure their personal computers, it is best to have a user download Microsoft Office files instead of opening them directly from a web page. Do not try to create a link from a MS Office file you have opened directly from the Manage Files area. Be careful to follow the instructions listed below.
What you will do
- Upload the .pdf via the Manage Files page of your web site
- Create link for .pdf using the Link button in the Edit tab of the desired page
Step By Step Procedure
Uploading the file
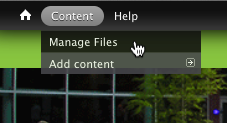
- Hover over the Content menu then click on the Manage Files menu
- Load the .pdf to the system using the Manage files interface. Please note: loading files must be done one file at a time in order to create individual URLs for each file.
- Click on +Add File
- Click on the Choose File button. This will activate the system navigation you are used to seeing. Navigate to your file and select it for uploading. Please note: Files must be less than 8 MB in file size.
- When the system is ready to upload the file, you will see the name of the file next to the Choose File button
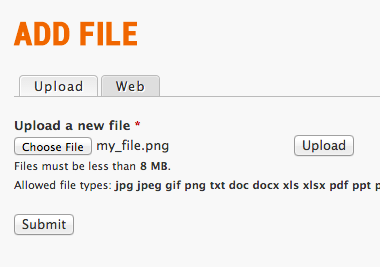
- Click the Upload button. If you have made an error and wish to upload another file, click the Remove button.
- Click the Submit button.
- IMPORTANT: In the next screen, you must assign the image to your departmental account. Near the bottom of the screen, find the Groups audience box and click on your departmental account name.
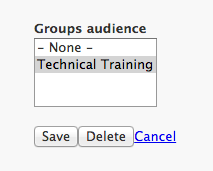
- Click Save
Copying the url of the file
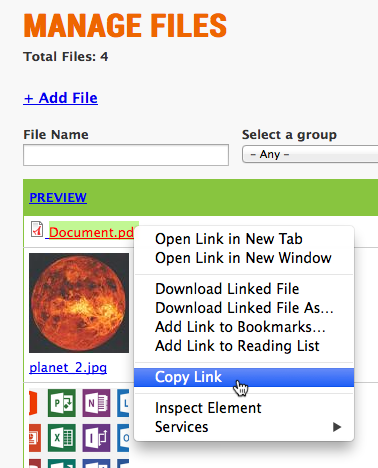
Once you have the file uploaded and assigned to your departmental account, the content management system assigns it a unique URL (web address). This will be the URL used in the Link dialog box.
- In most computer programs when you right-click on something, a menu pops up. In this case, right-click on the name of file in the Manage Files area. On the pop-up menu, select "copy link" or similar menu item. (Each browser uses a different term so look for the menu item that means "copy link".)
- Go to the web page you are editing, select the text you want your users to click on (link text).
- Click the Link button.
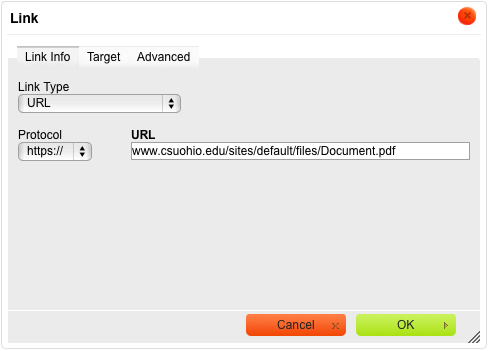
- In the Link dialog box, paste the URL of the file in the URL text box.
Please Note: When creating links for .pdfs, there are some good practices you may wish to follow in order to help the user:
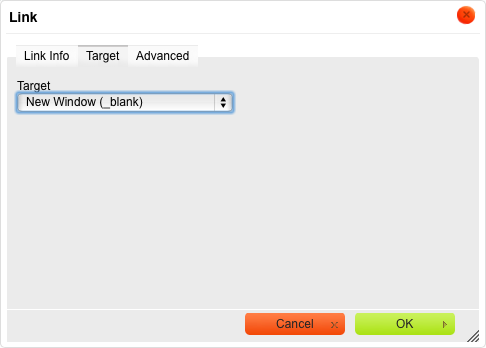
- Set the Target tab of the Link dialog box to New Window (_blank). This will cause the link to open a new window. The user will be able to use the content in the new window and close it without leaving your web site.
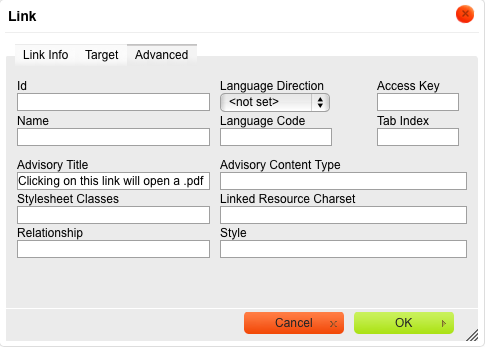
- Putting short, helpful text in the Advisory Title text area will provide information to the user about the link. In this case, you will let the user know they are about to click a link that will open a .pdf in another window.
EXAMPLE